For a number of reasons it may be important to display your locations in a particular order when your store locator first loads. For example, you may want to list your largest and most popular stores first, or those that you want to direct more customers to. Here's how to go about this:
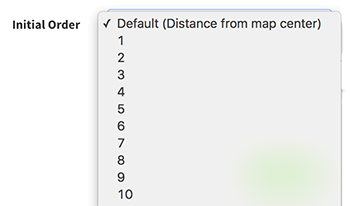
Your first option if you have a small number of locations (less than 10) is to edit each location manually. From the Stores page, click on each location in turn and set the Initial Order entry to the order in which you would like the locations to appear in the list where 1 is the first listed location and downwards from there.

If you have more than a few locations though, it's usually quicker to make the changes in Excel using a downloaded copy of your location list. Click on the 'Bulk Export' button at the top of the Stores page:

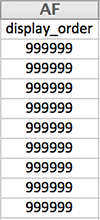
Once your location list has been downloaded, open it up in Microsoft Excel (or your favorite spreadsheet) and look for the column titled 'display_order'. If you've never changed this setting, it will default to the number 0 or 999999 like shown:

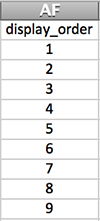
Now you can go through an set a display order for each location. If you don't care where it appears, just leave it set to 999999 and it will appear at the bottom of the list in order of distance from the map centerpoint just like usual. Here's how it looks for an ordered list of locations:

Once you're done, you're ready to re-import your location list. Click on the 'Bulk Import' button at the top of the Stores page:

And that should be it. Your location list will now be displayed in the order you have set when the store locator first loads.